The Complete Moving Checklist, Explained by Timeline
A “moving checklist” isn’t just a list of tasks. It’s the order that keeps your move predictable.
Most moving stress comes from doing the right things too late. People book movers after the good dates are gone. They start packing before they’ve decided what’s leaving. They wait on building rules until move day. Then everything becomes urgent at the same time.
This timeline breaks the move into clear phases so you know what matters first, what can wait, and what causes delays when done out of order.
The simple rule that makes a move smoother
The order is always:
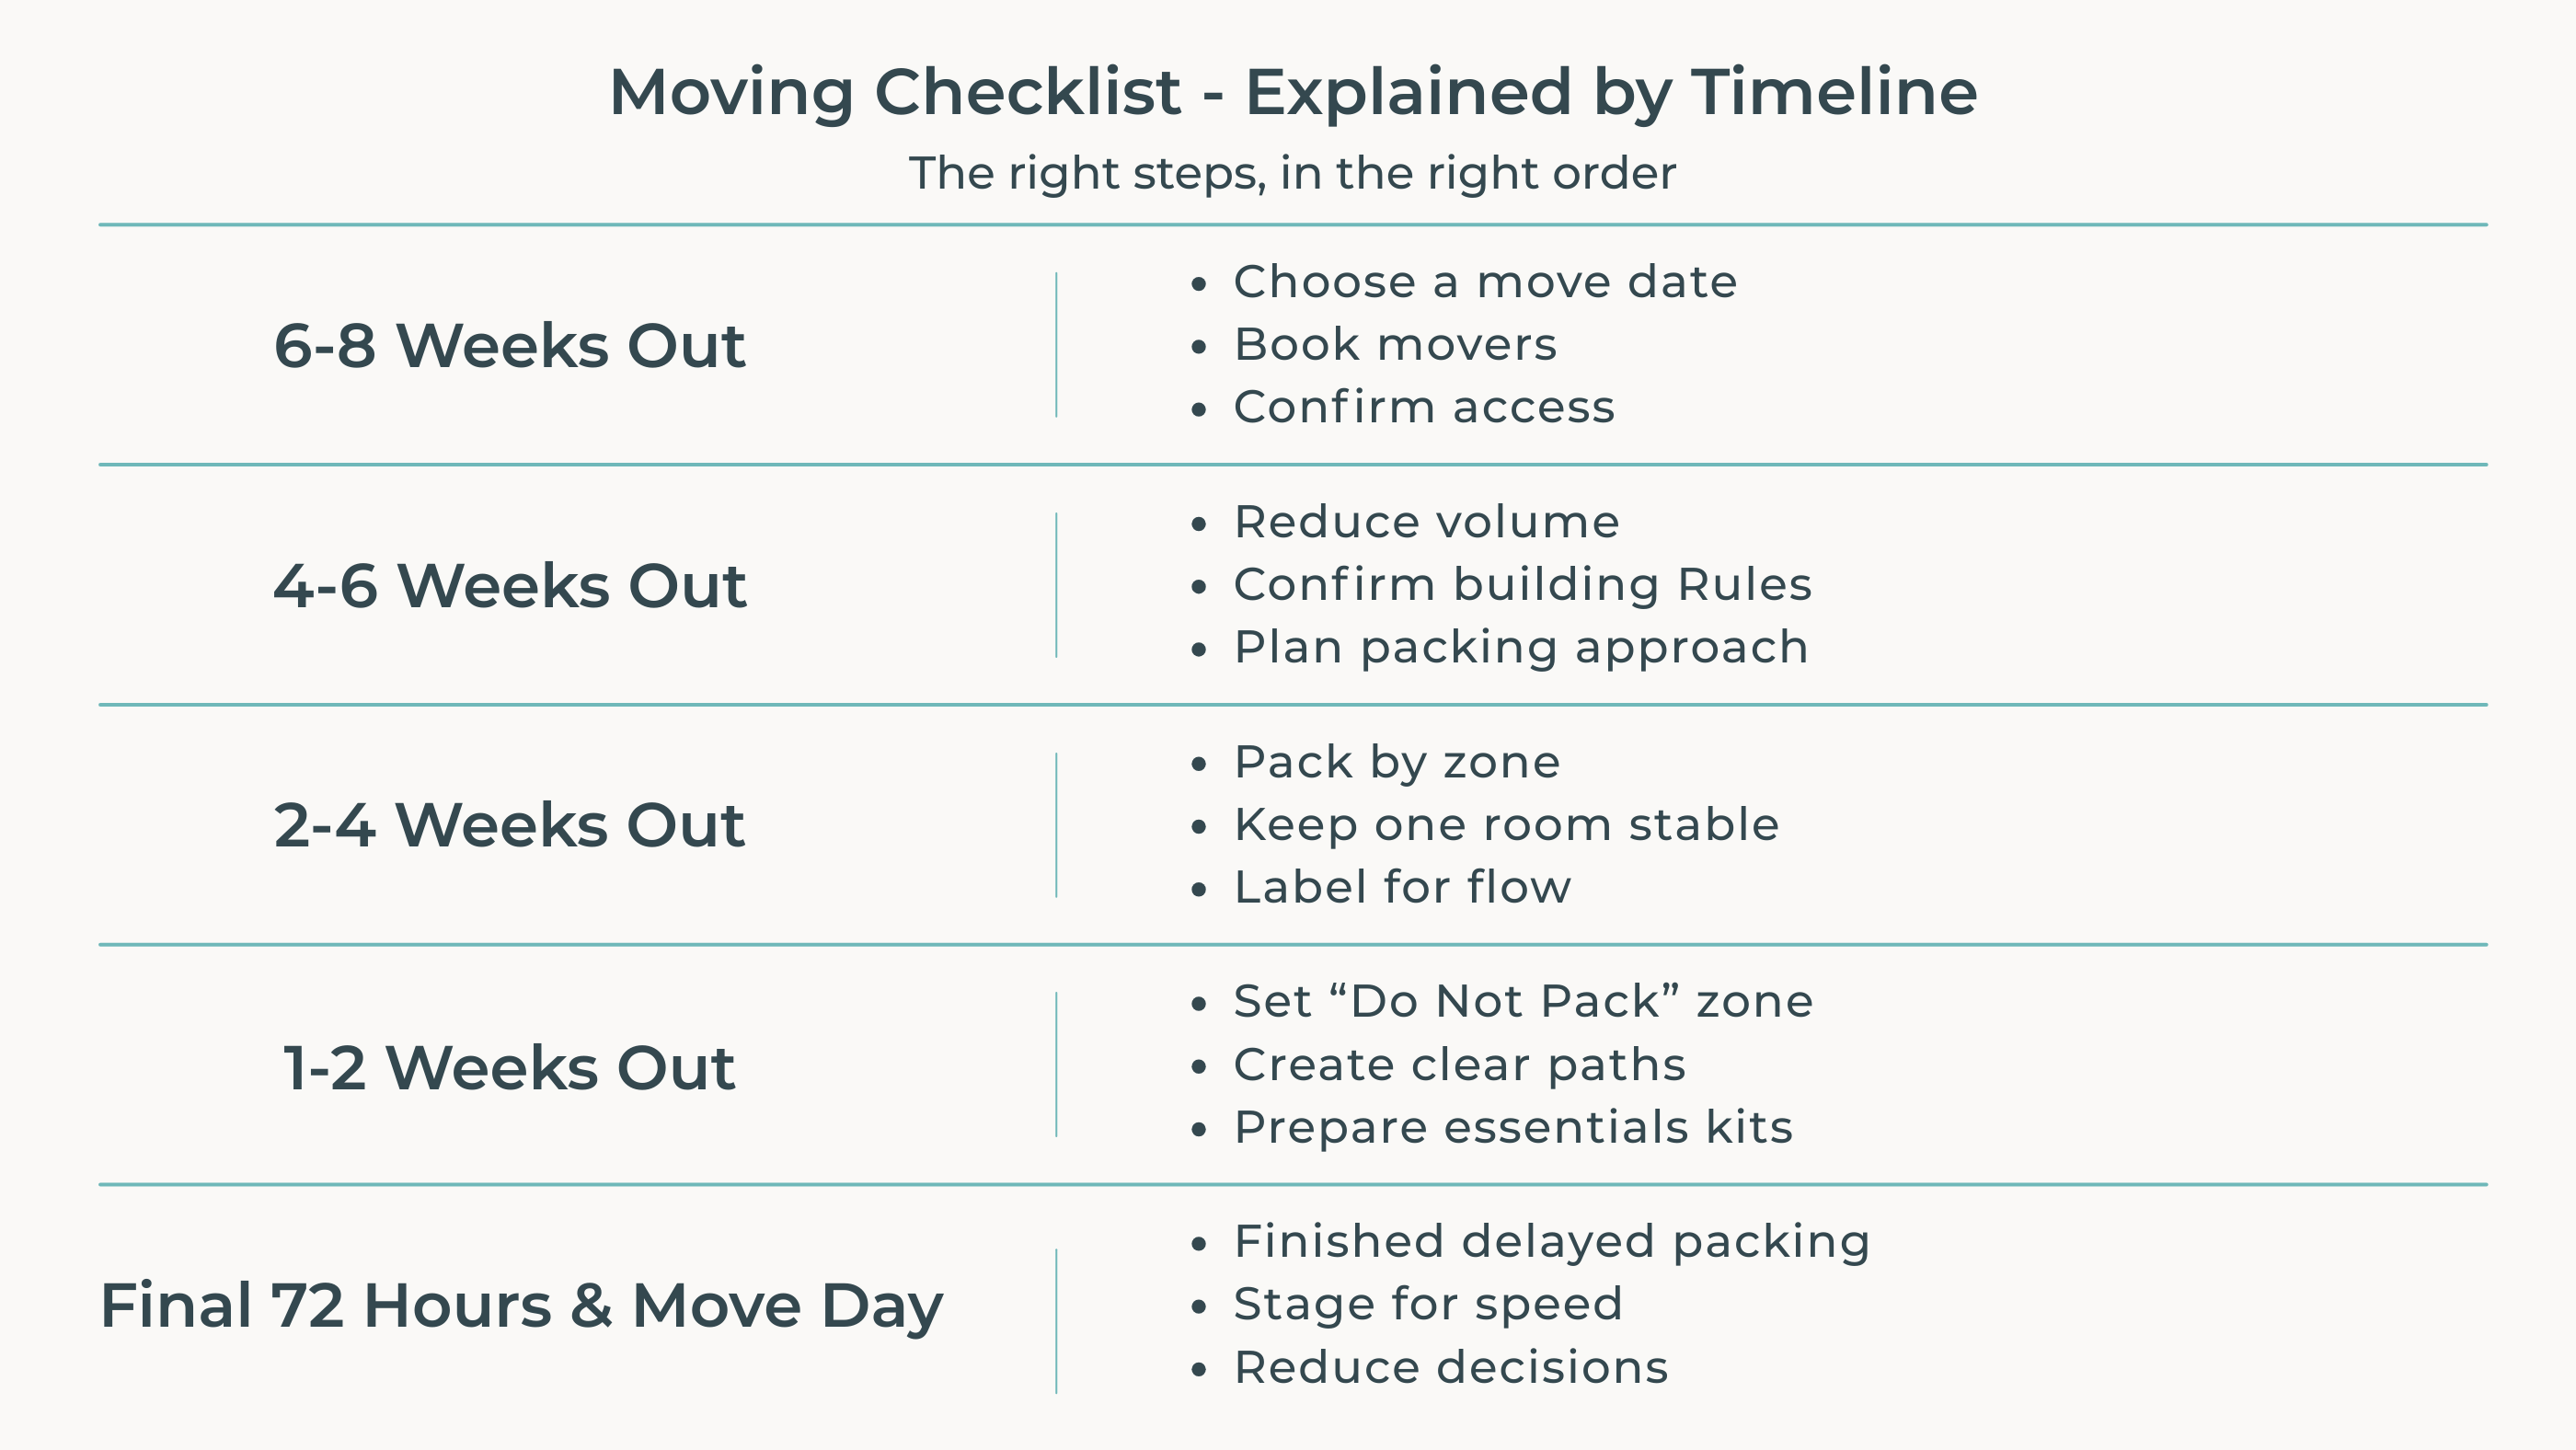
Plan → Confirm access → Reduce volume → Pack in zones → Stage for speed
If you skip a step, the next step becomes harder. That’s when moves slow down and costs climb.
6–8 weeks out: lock the big decisions
This phase is about removing uncertainty early.
Start by making four decisions that affect everything else: your moving date, who is moving you, what you’re bringing, and what access looks like.
Book first, then plan details. If you plan details before the date and access are confirmed, you end up rebuilding the plan later under pressure.
If you’re hiring movers, this is also when you’ll get the best choice of dates and time windows.
4–6 weeks out: reduce your volume before you pack
Packing is slower when you’re packing things you don’t want.
Declutter first. Donate, sell, or recycle what isn’t coming. Then measure or mentally map the large items that must fit through tight turns, elevators, or stairwells.
If you’re moving from an apartment, confirm building rules now. Elevator booking, parking restrictions, and move-in or move-out windows are common causes of delays. They’re also easy to prevent when handled early.
2–4 weeks out: start packing in a way that doesn’t create chaos
This is where people often go wrong.
They start packing randomly, then spend the final week hunting for essentials, reopening boxes, and losing momentum.
Instead, pack by zones and timeline. Pack what you won’t need soon first, then work toward daily-use items.
Keep one area of the home stable. A move feels heavier when every room is disrupted at once.
1–2 weeks out: shift from packing to staging
In the final stretch, the goal is speed and clarity.
You want boxes and furniture to move in straight lines. That means creating pathways, staging by room, and making high-risk items obvious.
This is also when you confirm details that affect real-time flow: parking plan, elevator booking, key pickup, loading route, and a clear first-unload plan if you have multiple stops.
Final 72 hours: prevent the most common move-day failures
At this point, most problems come from missing setup, not missing effort.
Finish the packing that could delay movers. Set aside items that cannot go on the truck. Confirm your access plan one more time. Prepare a small essentials kit that stays with you.
If you’re paying hourly, the final 72 hours are where you can protect your budget the most.
Move day: make the work simple and the decisions fewer
Move day works best when the home is prepared to be moved, not still being packed.
Your job is to reduce interruptions. Clear paths. Clear labeling. Clear access. Clear “do not pack” boundaries.
The less decision-making you force on move day, the calmer it feels and the faster it goes.
What to do first if you’re not sure
If you don’t know where to start, don’t build a massive checklist.
Start by confirming the biggest unknowns first: parking, elevator rules, move-day access, and what’s coming with you versus not.
Then use a simple structure to organize the rest.
→ View the free 1-Page Move Snapshot
Closing thought
A good checklist isn’t longer. It’s earlier.
Most moving stress comes from compression. Too many tasks collapse into the final week. A timeline spreads that load out and makes the move feel manageable.